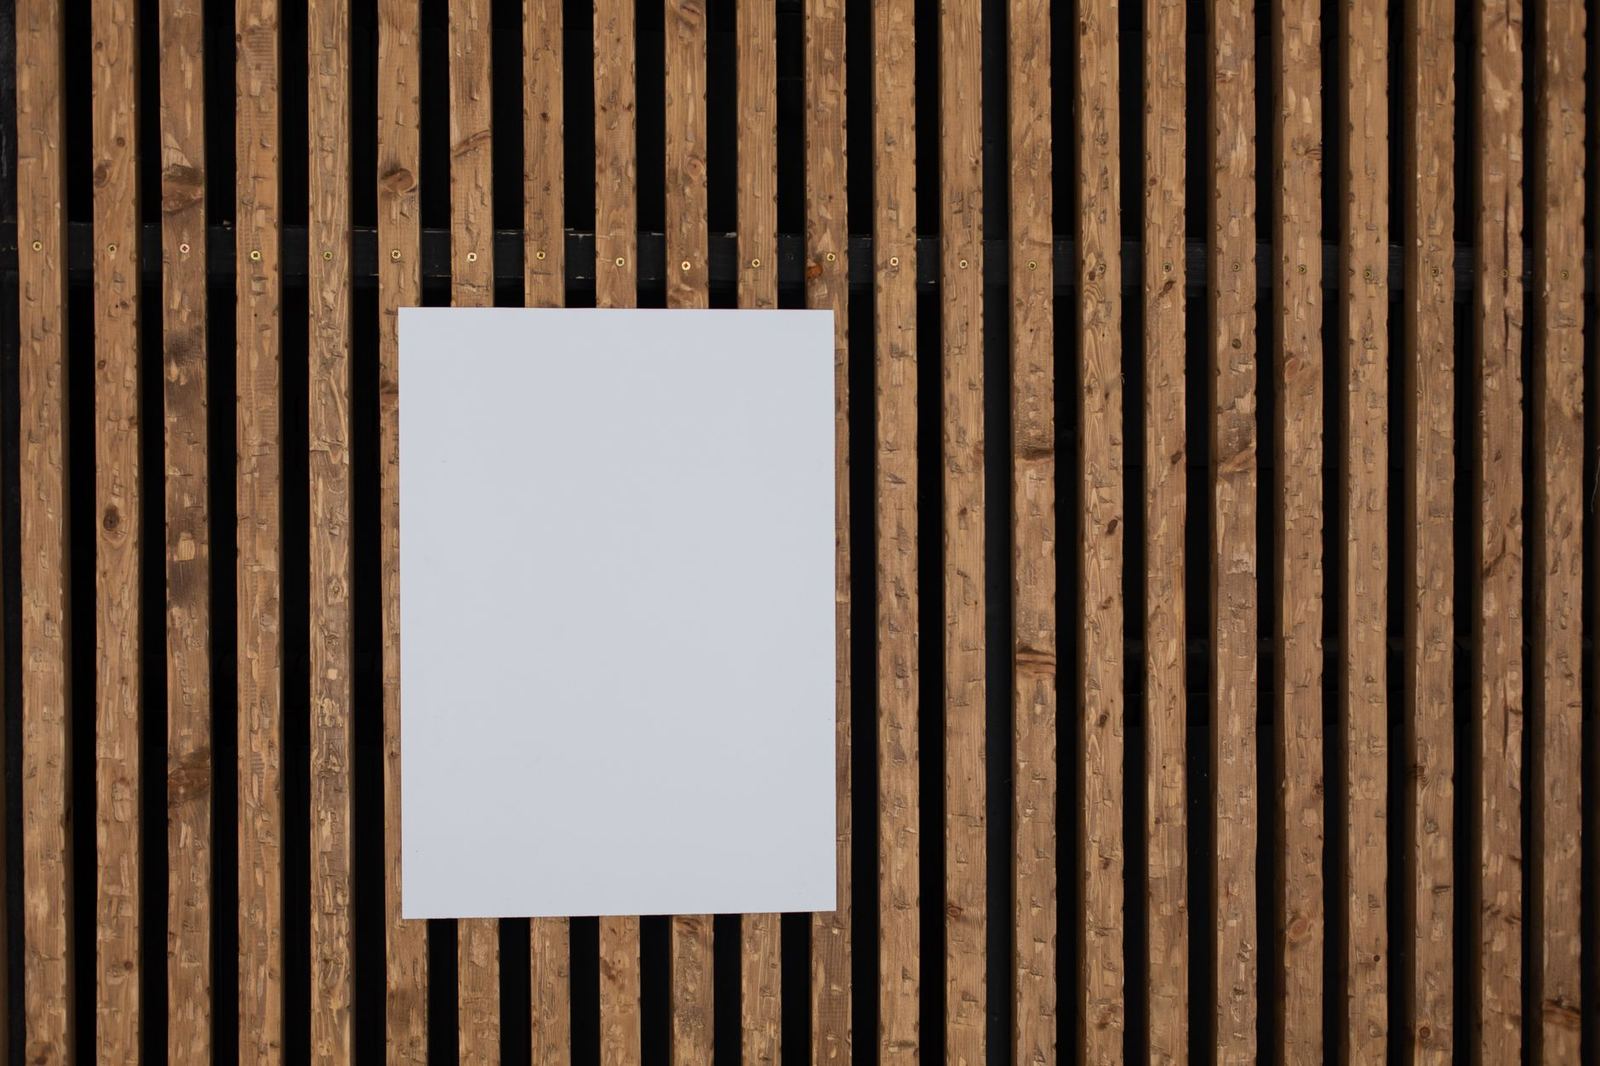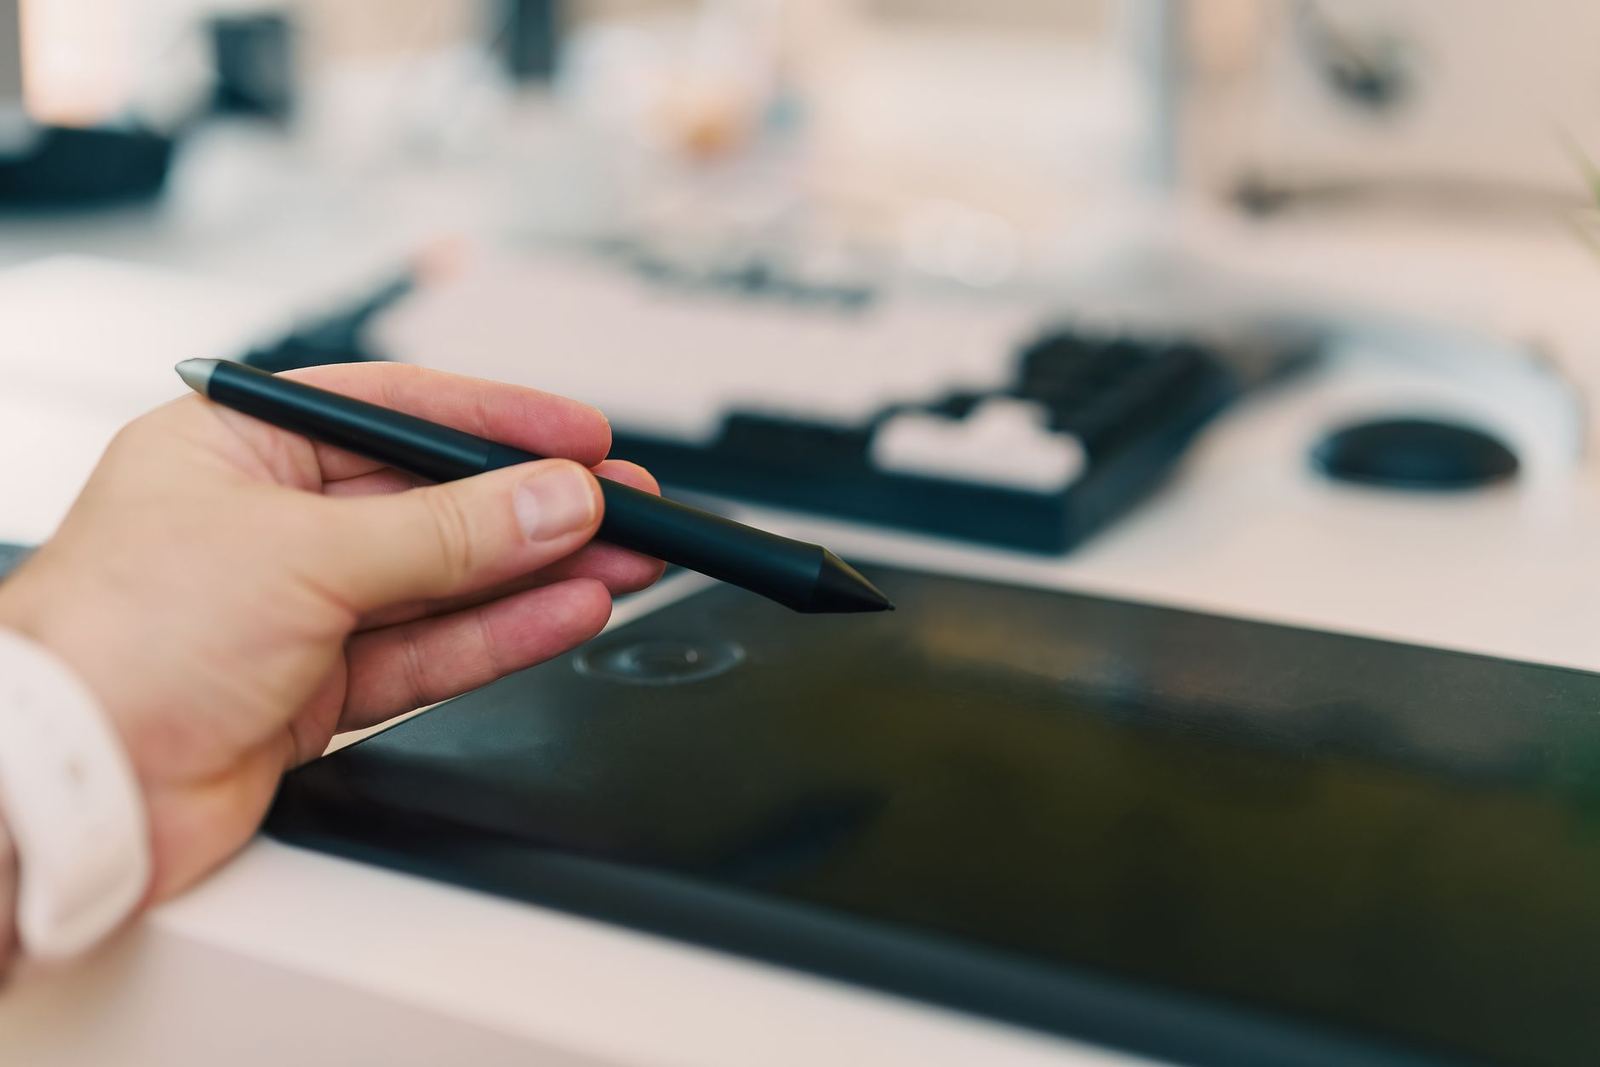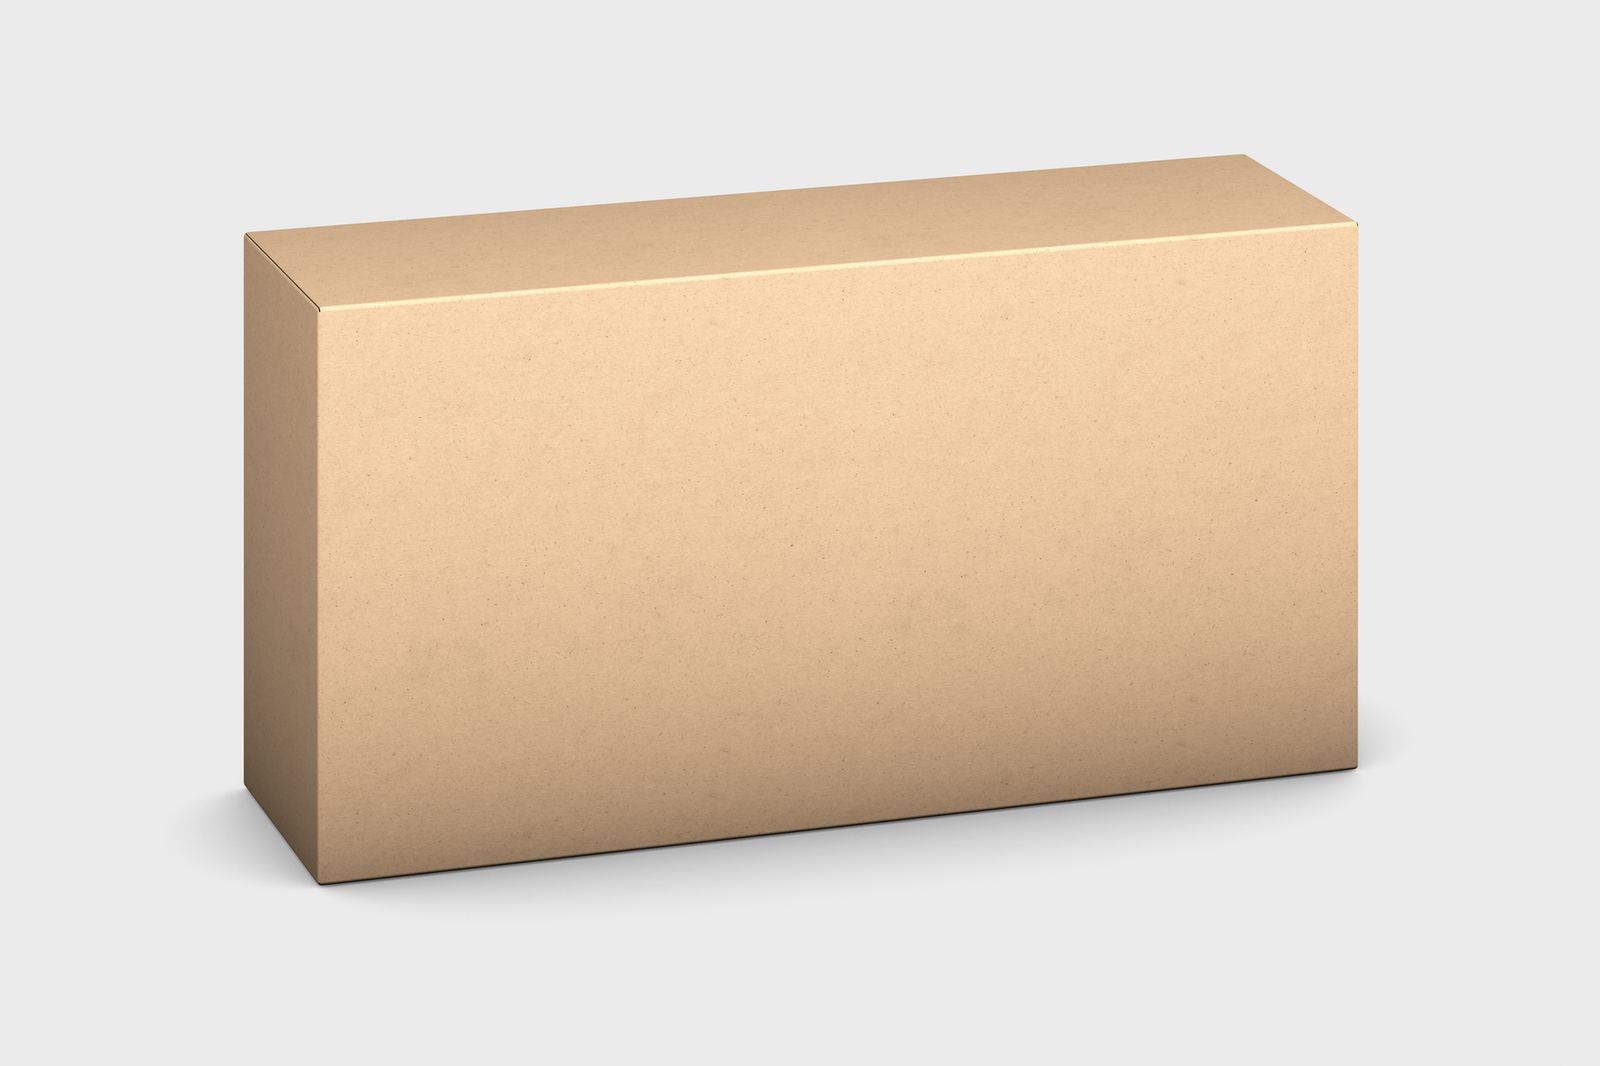
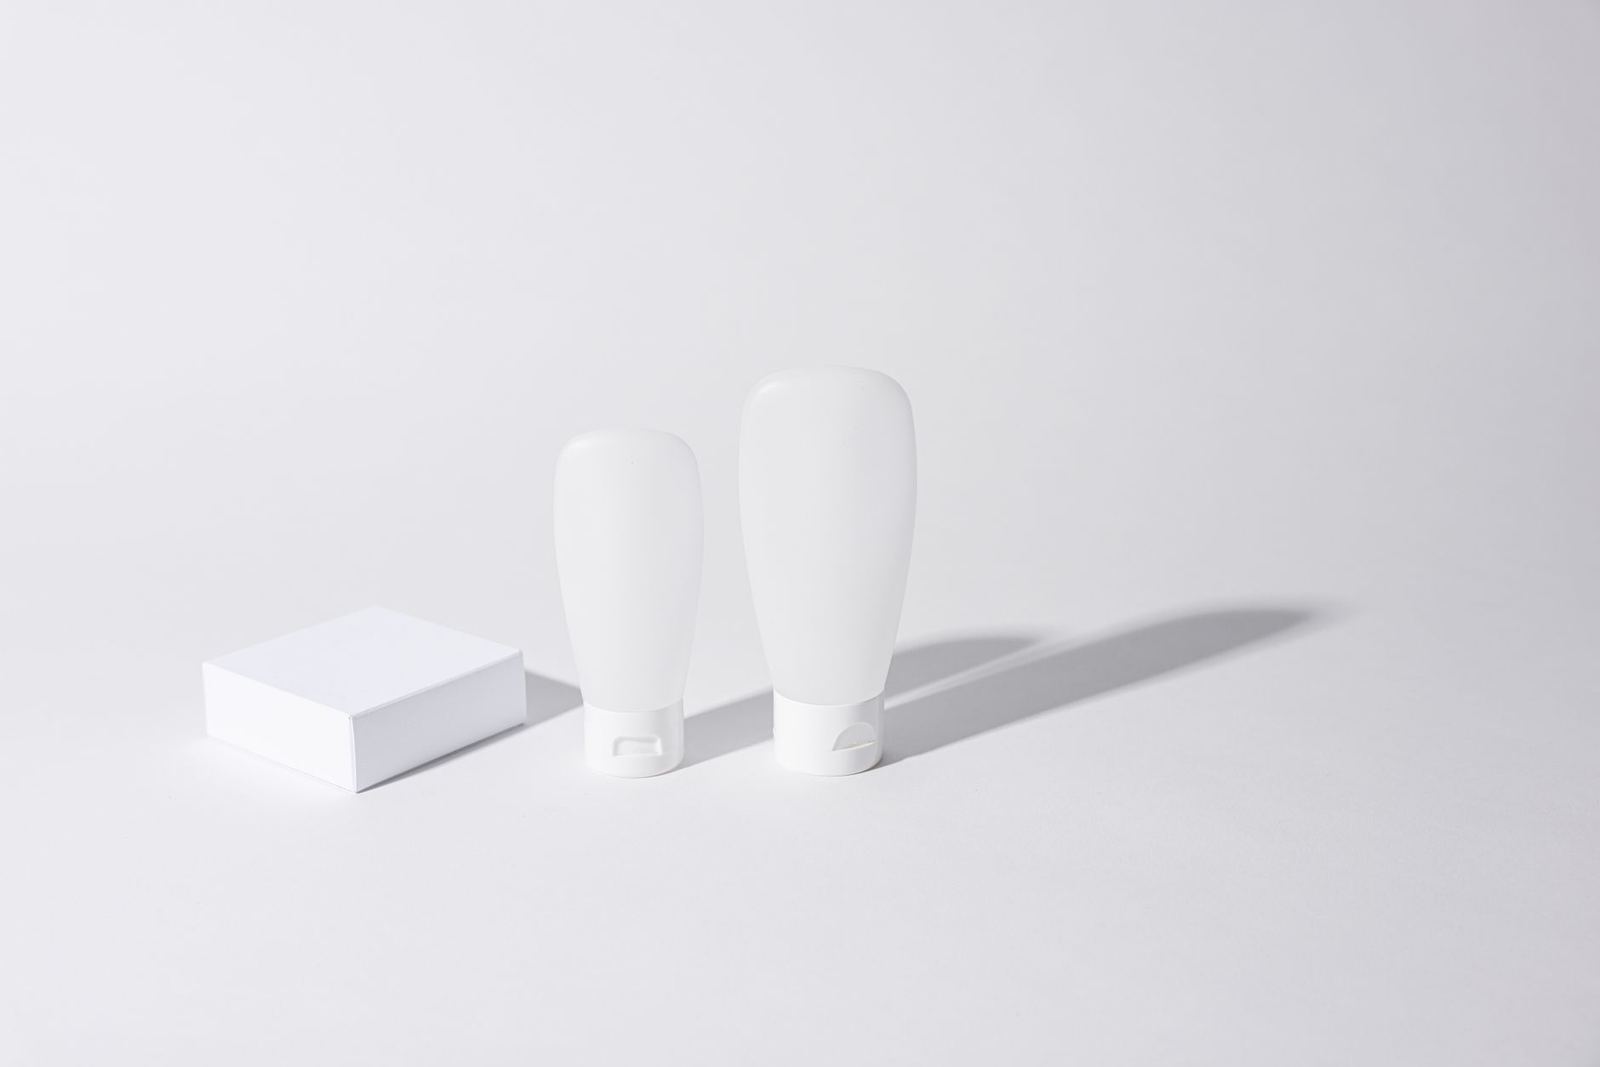
Mockup photography means shooting blank surfaces, such as a plain card, box or shirt, so artwork can be placed onto them later. Soft, even light, a controlled angle and a clean background are what make the result convincing.
It supports the wider practice described in what is a design mockup, where a realistic base photo lets a design be judged in context.
Why shoot blank surfaces
A mockup photo has a different job from an advertising photo. It must carry artwork convincingly, which means the blank object needs even tonal range, visible texture and believable shadows, while the surface itself stays clean enough to receive a design. Shooting the base yourself allows the surface, size and viewpoint to match a specific project, which is hard to guarantee with a generic image.
The finished scene is only as good as its base. If the lighting on the object is flat and contradictory, no amount of careful placement of artwork will fix it. Time spent on the shoot is therefore time saved in editing, and it is the reason identity presentations such as a branding mockup depend so heavily on the underlying photography.
Choosing and controlling the light
Soft light is the usual choice for blank products. Wikipedia’s article on the softbox describes it as an enclosure that surrounds a light source with reflective side and back panels and a diffusing material at the front to soften and spread the light. Spreading the light this way reduces hard-edged shadows and harsh highlights, so a flat surface shows gradual tonal change that artwork can follow.
Window light does a similar job without equipment. A large window, ideally with a thin curtain or sheet over it, acts as a big diffuse source. Placing the object to the side of the window, rather than facing it, gives gentle shading that shows form. A white card or reflector on the shadow side lifts dark areas without adding a second shadow.
Surface finish changes how light behaves. As the physics reference on diffuse reflection notes, matte paints give almost exclusively diffuse reflection, which is why matte stock and uncoated paper photograph predictably. Glossy items add a fraction of specular reflection, which appears as bright glare spots and window shapes that must be placed deliberately or removed.
Controlling colour and white balance
Light sources differ in colour, and a camera records the difference. According to Wikipedia’s article on colour temperature, Rayleigh scattering of sunlight by Earth’s atmosphere causes sunlight to have a lower, warmer colour temperature in the early morning and late afternoon. Mixing window light with warm indoor bulbs in the same frame produces uneven colour that is awkward to correct, so switch off competing lamps.
White balance is the correction for this. The reference article on colour balance describes it as adjusting colours so that a white object, such as a piece of paper or a wall, appears white. For product work, a neutral reference makes it easy to set. The entry on the gray card says a primary use is to provide a standard reference object for exposure determination in photography. Including a card in a test frame, then removing it for the final shot, gives a dependable basis for both exposure and colour.
Accurate colour matters because artwork is placed onto the base later. A blue-tinted white shirt will tint every design added to it, and the mismatch is obvious when the artwork’s own colours are supposed to be true.
Angles, lenses and perspective
Viewpoint and lens choice change how an object appears. Wikipedia’s article on perspective distortion says that with a wide-angle lens used close up, objects close to the lens appear abnormally large relative to more distant objects. For a box, book or device, that means the near edge swells and the far edge shrinks, which makes artwork placement harder and the result less truthful.
A common remedy is to stand further back and use a longer focal length, which flattens the scene and keeps proportions closer to what the eye expects. Several viewpoints serve most blank products:
- Straight-on or top-down: best for flat items such as cards, posters and sheets, where the artwork should stay square to the frame.
- Three-quarter angle: shows depth and side faces on boxes, books and packaging.
- Low and eye-level: suits bottles, bags and signage that people see from standing height.
Keeping the camera on a tripod holds the angle steady between shots, and it lets a photographer capture the same scene with and without props so the layers can be combined later.
Sharpness, depth of field and the background
Depth of field decides how much of the scene is sharp. The encyclopedia entry on depth of field describes hyperfocal distance as the focus distance giving the maximum depth of field. In practice a blank product shot needs the whole artwork area in focus, so a narrower aperture and a careful focus point on the surface that will carry the design are preferable to a very shallow focus that leaves part of it soft.
Backgrounds should support the surface rather than compete with it. A plain wall, a sheet of paper or a simple tabletop keeps attention on the object and makes it easy to separate later. Texture is welcome when it suits the brief, but busy patterns or strong colours behind a pale object can cast tints onto it.
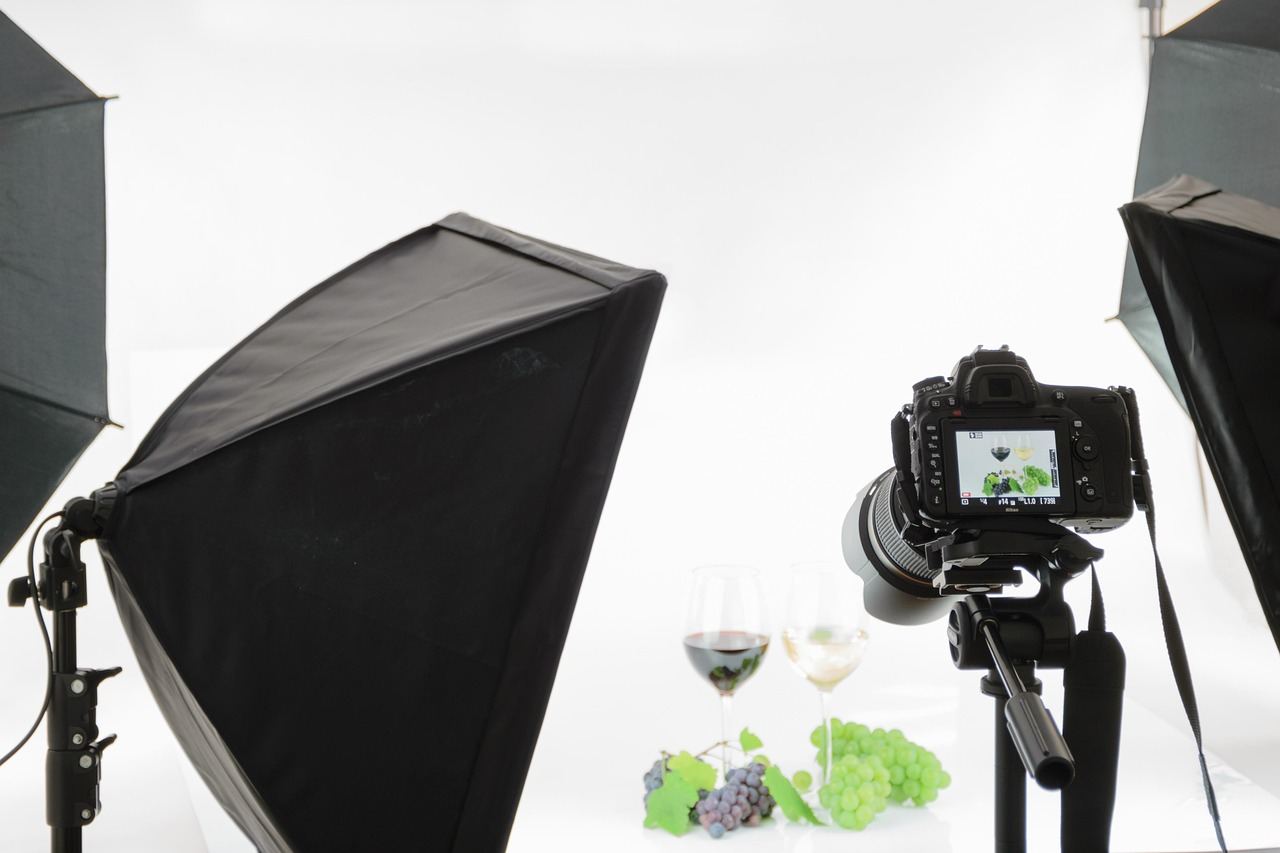
Reflections and polarising filters
Shiny surfaces such as glossy paper, glass, metal and screens reflect the room. The article on the polarizing filter explains that since reflections and sky-light tend to be at least partially linearly polarized, a linear polarizer can be used to change the balance of the light in the photograph. A polarizing filter on the lens, rotated until reflections fade, can therefore clean up a glossy item. Lighting can also be polarized for a stronger effect, but that equipment is rarely essential for basic work.
Where a polarizer is not available, moving the light, tilting the object slightly or draping dark fabric outside the frame to remove unwanted reflections can achieve a similar result.
Preparing the photo for artwork placement
Once the shoot is done, the base photo needs to be ready for design. Retouching removes dust, creases and stray marks, and the area that will take artwork is defined so it can be replaced non-destructively. Shooting extra frames helps: a clean plate without props, one with shadows only, and one with the object removed all give flexibility when assembling the final scene.
The saved version matters for file handling. The web.dev guide on choosing the right image format notes that when scaling up a raster image, you may need to save multiple versions of a raster image at various resolutions. For mockup bases, keep a high-resolution master for editing and export smaller copies for web previews, so the original is never degraded.
For apparel in particular, fabric folds, seams and neck shapes need the placement to follow them, which is covered in the guide to a t-shirt mockup. Everything shot here should respect the rights of any people, products or trade dress that appear, and any prop or model release terms should be read directly; this is general information, not legal advice.
Frequently asked questions
What equipment is needed for mockup photography?
A camera with manual controls, a stable support and a diffused light source are enough to begin. Many photographers use a large window and a white reflector instead of dedicated lights.
Why does a blank surface need soft light?
Soft light produces gradual shading rather than hard shadows. That gradual shading is what makes artwork placed on the surface look as if it truly belongs there.
Should the camera use a wide-angle lens?
Wide-angle lenses used up close exaggerate perspective, so near parts of the object look oversized. A longer lens from further away usually keeps proportions more natural for product bases.
How are reflections removed from glossy items?
Reposition the light, tilt the item, block stray light outside the frame or use a polarizing filter. A clean base is easier to work with than retouching reflections later.